Engineering Skillsbeginnerfundamentals
Complete Soldering Guide for Beginners: Tips, Techniques & Common Mistakes
A beginner soldering guide: tools, safety, through-hole and SMD technique, and how to spot and fix common soldering mistakes.
By ADIY10 min read
Technical review pending. Figures marked “verify” or “check your part” have not been confirmed against your exact hardware revision. Check the manufacturer datasheet before relying on them in a design.
1. Introduction — The Most Important Skill for Electronics Engineers#
Whether you're building a simple LED flasher circuit or assembling a complex IoT node with an ESP32, soldering is the fundamental bridge between a breadboard prototype and a permanent, reliable project. For electronics engineers, makers, and students across India, mastering the soldering iron is a rite of passage.
If you've just picked up an ADIY UNO R3 and a few sensors, you will eventually need to solder headers or connect wires to breakout boards. This soldering guide for beginners covers everything you need to know, from selecting the right tools in the Indian market to making a perfect, shiny solder joint, and how to troubleshoot common mistakes.
2. Equipment You Need#
A good craftsman never blames their tools, but cheap, uncalibrated tools will make soldering incredibly frustrating. Here is what you need for a basic soldering setup.
The Soldering Iron#
There are two main types of irons you'll encounter:
- Pencil Irons (25W - 40W): These plug straight into the wall. They are cheap and good for absolute beginners, but they lack temperature control, often getting too hot and oxidizing the tip or burning pads.
- Temperature Controlled Stations: These are the gold standard. They allow you to set exact temperatures, meaning your tip lasts longer and you won't fry delicate components.
Solder Wire#
Choosing the right solder is critical. The two main types are Leaded and Lead-Free.
| Feature | Leaded (60/40 Sn/Pb) | Lead-Free (99.3/0.7 Sn/Cu) |
|---|---|---|
| Melting Point | Lower (~183°C to 190°C) | Higher (~227°C) |
| Flow & Wetting | Excellent, flows very easily | Requires more flux and heat |
| Joint Appearance | Shiny and smooth | Dull and grainy (can look like a cold joint) |
| Toxicity/Safety | Toxic (Lead), requires careful handling | Safer, RoHS compliant |
| Best For | Absolute beginners, prototyping | Commercial products, advanced hobbyists |
Other Essential Tools#
- Flux: Solder comes with a rosin core (flux inside the wire), but extra flux (rosin, no-clean, or water-soluble) is a lifesaver. It cleans the metal surfaces and allows the solder to flow.
- Tip Cleaner: Use a brass wire sponge rather than a wet sponge. A wet sponge causes thermal shock to the tip, reducing its lifespan.
- Helping Hands / PCB Holder: You need one hand for the iron, one for the solder. A PCB holder acts as your third hand to hold the board steady.
- Desoldering Pump (Solder Sucker) & Solder Wick: For when you inevitably make a mistake and need to remove solder.
3. Understanding Soldering Irons & Temperatures#
If you have a temperature-controlled station, setting the right temperature is key to a good joint. Too cold, and the solder will stick to the iron and not the pad. Too hot, and the flux will burn off instantly, leaving a black crust and potentially lifting the copper pad off the PCB.
- For Leaded Solder (60/40): Set your temperature around 320°C to 340°C.
- For Lead-Free Solder: Set your temperature around 360°C to 380°C.
4. Tinning the Iron Tip#
Before you make your first joint, you must "tin" the tip. This protects the tip from oxidation and provides a thermal bridge to transfer heat quickly to the component.
- Turn on the iron and wait for it to reach operating temperature.
- Wipe the tip on your brass wire cleaner.
- Apply a small amount of solder directly to the hot tip until it is coated in a thin, shiny layer.
- Wipe the excess off on the brass wire. Your tip is now tinned and ready!
5. Through-Hole Soldering — Step by Step#
Through-hole soldering is the process of inserting component leads through drilled holes on a PCB and soldering them to pads on the opposite side. It is the most common technique for beginners.
- Insert the Component: Push the leads of the component (e.g., a resistor or a header pin for your breakout board) through the holes. Bend the leads slightly outward to hold it in place.
- Apply Heat: Place the tip of the soldering iron so it touches both the copper pad on the PCB and the component lead simultaneously. Hold it there for 2-3 seconds to heat both metal surfaces.
- Feed the Solder: Push the end of your solder wire into the joint (from the opposite side of the iron). The solder should melt upon contact with the hot pad and lead, flowing smoothly around the hole.
- Remove Solder, then Iron: Pull the solder wire away first. Leave the iron on the joint for a split second longer, then remove the iron smoothly.
- Let it Cool: Do not blow on the joint or move the board. Let it cool naturally for a few seconds.
- Trim the Leads: Use flush cutters to snip the excess lead wire just above the solder joint.
6. Common Solder Joint Problems#
Inspect your work. A perfect through-hole joint should look like a shiny, smooth volcano or cone. Here are common issues and how to fix them:
- Cold Joint: Looks dull, grainy, and crinkled. The solder didn't melt completely, usually because the pad wasn't heated enough or the joint moved while cooling.
Fix: Reheat the joint with the iron until it flows and becomes shiny. Add a tiny bit of flux if needed. - Solder Bridge: Two adjacent pins are connected by a blob of solder, causing a short circuit.
Fix: Apply flux, clean your iron tip, and drag the iron between the pins to pull the excess solder away. If that fails, use a desoldering pump or solder wick. - Insufficient Solder: The hole isn't fully filled, or the solder doesn't cover the entire pad.
Fix: Heat the joint and add a little more solder. - Excessive Solder: The joint looks like a giant, round ball rather than a cone. This can hide underlying problems.
Fix: Use a desoldering pump or wick to remove some of the excess. - Lifted Pad: The copper pad detaches from the fiberglass PCB. This happens when too much heat is applied for too long.
Fix: This is hard to fix. You may need to scrape away solder mask on an adjacent trace and bridge it with a wire.
7. SMD Soldering Basics#
Surface Mount Device (SMD) soldering might seem intimidating, but with practice, it's often faster than through-hole. For beginners, the easiest method is "drag soldering" for ICs (like the chips found on the ADIY FLY Pico RP2040).
- Apply flux generously to the pads on the PCB.
- Place the component with tweezers.
- Put a tiny bit of solder on your iron tip and tack down one corner pin to anchor the chip.
- Tack the opposite diagonal corner.
- Apply more flux. Put a blob of solder on the tip, and slowly drag it across the remaining pins. The flux will prevent solder bridges, and capillary action will pull the solder onto the pads.
8. Desoldering Techniques#
Mistakes happen. Knowing how to undo a solder joint is just as important as making one.
- Solder Sucker (Desoldering Pump): Heat the joint until liquid, place the nozzle of the pump right over the molten solder, and press the button to vacuum it up.
- Solder Wick (Desoldering Braid): Place the copper braid over the solder joint. Press your hot iron on top of the braid. The heat will transfer through the braid, melt the solder, and the braid will wick it up like a sponge. (Add flux to the braid to make it work 10x better!)
9. Soldering Practice Projects#
Ready to practice? Try these beginner-friendly tasks:
- Solder a resistor onto a perfboard. Focus on getting the perfect cone shape.
- Solder header pins onto an ADIY UNO R3 shield. Plug the headers into a breadboard first to keep them perfectly straight, then place the shield on top and solder.
- Solder a DC barrel jack or a relay module. These components require slightly more heat as they have thicker metal terminals.
10. Iron Tip Care & Maintenance#
A black, oxidized tip will not transfer heat and will ruin your soldering experience. Follow this routine:
- Always wipe the tip on brass wire before and after making a joint.
- Before turning off the iron: Apply a thick blob of fresh solder to the tip. This layer of solder will protect the iron plating from oxidizing while it sits in storage.
- If your tip turns black and won't accept solder, use a "tip tinner/cleaner" paste to restore it. If it gets pitted and deformed, it's time to buy a replacement tip.
11. Lead-Free vs. Leaded Solder in India#
In the Indian electronics market, 60/40 leaded solder is widely available and very inexpensive in local electronic markets (like Lamington Road in Mumbai). For beginners and hobbyists making one-off projects, leaded solder is still the preferred choice because it is incredibly easy to work with at lower temperatures.
However, if you plan to manufacture products commercially under the 'Make in India' initiative, you must comply with RoHS (Restriction of Hazardous Substances) directives. This requires transitioning to Lead-Free solder (typically Sn99.3/Cu0.7 or SAC305). Lead-free solder eats through iron tips faster and requires active flux management, but it is better for the environment and operator health in the long run.
12. Frequently Asked Questions (FAQ)#
What temperature should I set my soldering iron to?
For leaded solder (60/40), set your iron to around 320°C to 340°C. For lead-free solder, which requires more heat, set it between 360°C and 380°C.
Do I need flux if my solder has a rosin core?
While rosin-core solder contains some flux, adding external flux is highly recommended, especially for difficult joints, desoldering, or surface mount components (SMD). It prevents oxidation and helps solder flow smoothly.
How do I fix a solder bridge?
Apply some liquid or paste flux to the bridged pins. Use a clean, hot soldering iron tip to swipe away the excess solder, or use a solder wick (desoldering braid) to absorb it.
Why is my solder joint dull and grainy?
A dull, grainy joint is typically a "cold joint." This happens when the parts weren't heated enough, or they moved while the solder was cooling. To fix it, simply reheat the joint with your iron until the solder flows and becomes shiny again (if using leaded solder).
Products & resources
Arduino Compatible
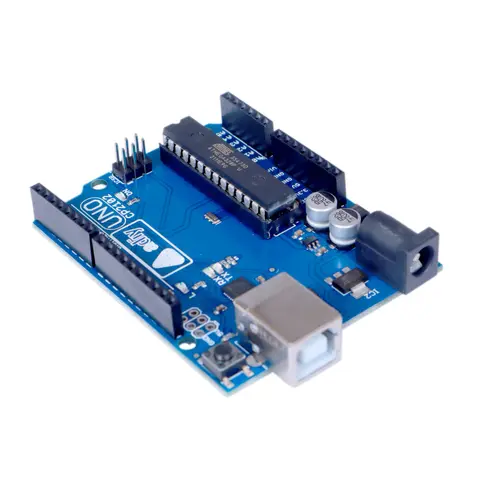
Uno R3 – Compatible CP2102
The ADIY Uno R3 CP2102 ATmega328P Development Board is a cost-effective alternative to the popular Arduino Uno R3. It is designed for beginners and professionals alike, offering robust performance and reliability. Key…
₹552
Datasheet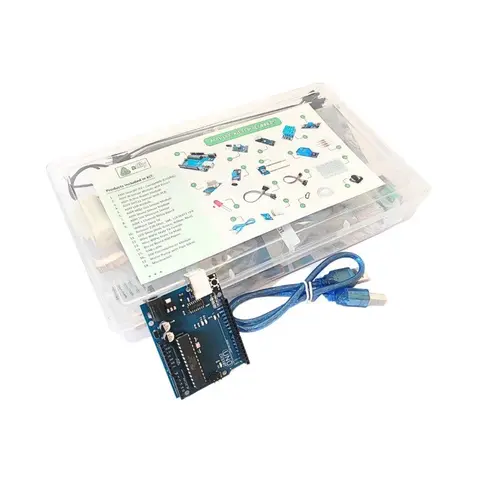
Arduino Compatible
UNO R3 Beginner kit – ADIY
ADIY Uno R3 Beginners Kit is a Stepping Stone for beginners who want to learn about electronic sensors and are excited to make projects. Beginners can learn the basics of UNO programming. Great for Starting with Arduino…
₹1,469
Datasheet
Share