Sensorsbeginneradiy labs
DHT11 vs DHT22: Complete Wiring & Arduino Code Guide for Beginners
Wire and code the DHT11 and DHT22 with Arduino: differences in range and accuracy, library setup, sample sketches and troubleshooting.
By ADIY11 min read
Technical review pending. Figures marked “verify” or “check your part” have not been confirmed against your exact hardware revision. Check the manufacturer datasheet before relying on them in a design.
Welcome to this comprehensive DHT11 Arduino tutorial and DHT22 sensor guide. If you are building an IoT weather station, smart home automation system, or an indoor climate monitor, measuring temperature and humidity is essential. The DHT11 and DHT22 are two of the most popular, cost-effective environmental sensors available for makers, students, and engineers in India. In this guide, we will compare their features, understand how to wire them up, write code for both basic reading and advanced displays, and troubleshoot common issues.
Whether you're using our reliable ADIY UNO R3 or stepping up to an ESP32 for wireless IoT applications, this tutorial provides all the practical information you need to successfully deploy a reliable temperature humidity sensor India project.
1. Introduction — Temperature & Humidity Sensing in IoT Projects#
Temperature and humidity sensing form the backbone of many environmental monitoring systems. The DHT series sensors are digital devices that contain a capacitive humidity sensor and a thermistor for measuring surrounding air. They output a calibrated digital signal on a single data wire, eliminating the need for analog-to-digital conversion on your microcontroller.
As part of the 'Make in India' initiative, our engineering team at ADIY strives to provide robust components that make prototyping simple. While both sensors do the same fundamental job, choosing the right one depends heavily on your project's requirement for accuracy, range, and update speed.
2. DHT11 vs DHT22 Comparison Table#
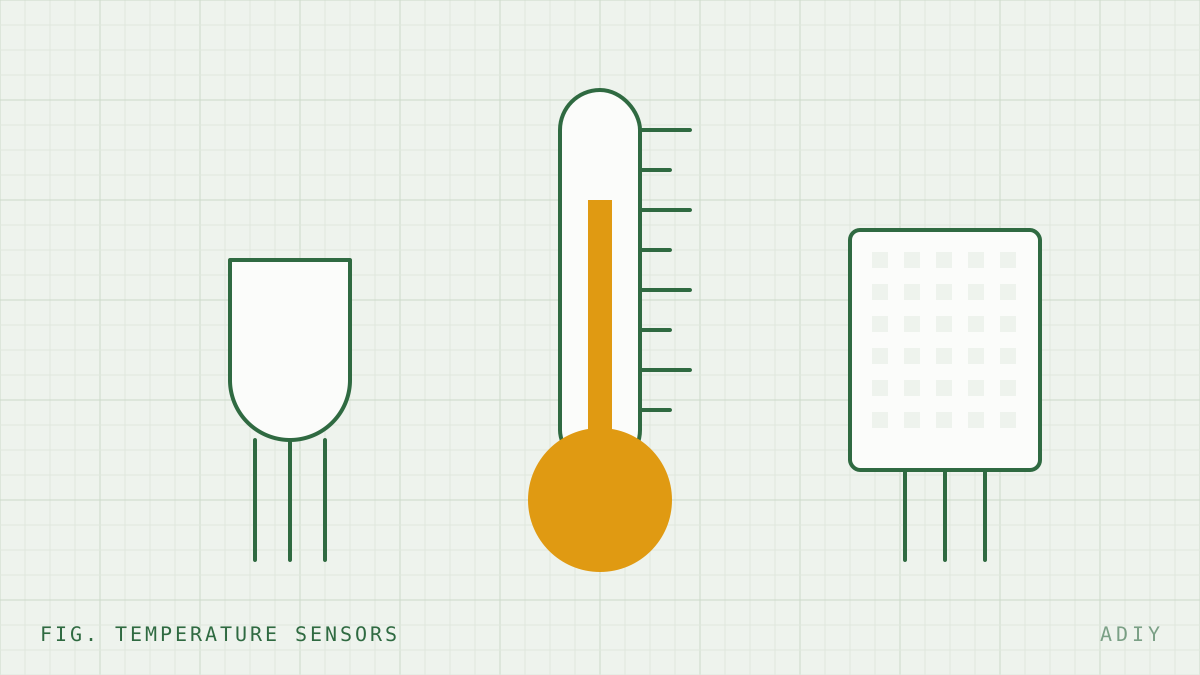
When selecting a sensor, you must balance cost against performance. The DHT11 is extremely cheap and great for basic learning, whereas the DHT22 (sometimes called AM2302) provides greater accuracy and a wider measurement range at a slightly higher price point.
| Specification | DHT11 (Blue) | DHT22 (White) |
|---|---|---|
| Temperature Range | 0 to 50 °C | -40 to 80 °C |
| Temperature Accuracy | ±2.0 °C | ±0.5 °C |
| Humidity Range | 20 to 90% RH | 0 to 100% RH |
| Humidity Accuracy | ±5.0% RH | ±2.0% RH |
| Sampling Rate | 1 Hz (1 reading / sec) | 0.5 Hz (1 reading / 2 secs) |
| Operating Voltage | 3.3V to 5V | 3.3V to 5V |
| Body Color / Package | Blue, slightly smaller | White, slightly larger |
3. Sensor Pin Description (4-pin vs 3-pin)#
These sensors come in two main form factors: a bare 4-pin sensor and a 3-pin breakout board module. The 3-pin module is generally easier for beginners because it usually includes the necessary pull-up resistor built into the board.
4-Pin Bare Sensor:#
- Pin 1 (VCC): Power supply (3.3V - 5V)
- Pin 2 (DATA): Digital data output
- Pin 3 (NC): Not Connected (Leave this empty)
- Pin 4 (GND): Ground
3-Pin Module (Breakout Board):#
- Pin 1 (VCC / +): Power supply
- Pin 2 (DATA / OUT): Data output
- Pin 3 (GND / -): Ground
4. The Pull-up Resistor Explanation#
The single-wire communication protocol used by DHT sensors requires the data line to be pulled HIGH by default. The sensor then pulls the line LOW to send data bits. If you are using a bare 4-pin DHT11 or DHT22, you must place a pull-up resistor (typically 10kΩ, though 4.7kΩ also works well) between the VCC pin and the DATA pin.
5. Wiring with ADIY UNO R3#
Let's hook up the sensor to an ADIY UNO R3. We will use digital pin 2 for data communication.
| DHT Sensor Pin | ADIY UNO R3 Pin |
|---|---|
| VCC (+) | 5V |
| DATA (OUT) | Digital Pin 2 |
| GND (-) | GND |
6. Wiring with ESP32#
For modern IoT projects requiring Wi-Fi or Bluetooth, the ESP32 is the go-to microcontroller. The DHT series works perfectly on 3.3V logic, making them directly compatible with ESP32 boards.
| DHT Sensor Pin | ESP32 Pin |
|---|---|
| VCC (+) | 3V3 |
| DATA (OUT) | GPIO 4 (D4) |
| GND (-) | GND |
7. Installing the DHT Library#
Before writing code, we need a library to handle the timing-critical single-wire communication. We highly recommend Adafruit's library.
- Open Arduino IDE.
- Go to Sketch > Include Library > Manage Libraries...
- Search for "DHT sensor library" by Adafruit and install it.
- You will also be prompted to install the "Adafruit Unified Sensor" library. Make sure to click "Install All" or install it separately.
8. Basic Code: Read and Serial Print Temperature & Humidity#
This is the fundamental code to test your sensor. It reads the data and prints it to the Serial Monitor. Make sure to adjust the DHTTYPE if you are using a DHT22.
#include "DHT.h"
// Define the pin connected to the DHT sensor
#define DHTPIN 2     // Change to 4 if using ESP32
// Uncomment whatever type you're using!
#define DHTTYPE DHT11   // DHT 11
//#define DHTTYPE DHT22   // DHT 22 (AM2302)
// Initialize DHT sensor
DHT dht(DHTPIN, DHTTYPE);
void setup() {
  Serial.begin(9600);
  Serial.println(F("ADIY DHT11/DHT22 Test!"));

  dht.begin();
}
void loop() {
  // Wait a few seconds between measurements.
  // DHT11 needs at least 1s, DHT22 needs at least 2s.
  delay(2000);
  // Reading temperature or humidity takes about 250 milliseconds!
  float h = dht.readHumidity();
  float t = dht.readTemperature(); // Read temperature as Celsius
  // Check if any reads failed and exit early (to try again).
  if (isnan(h) || isnan(t)) {
    Serial.println(F("Failed to read from DHT sensor!"));
    return;
  }
  // Compute heat index in Celsius (isFahreheit = false)
  float hic = dht.computeHeatIndex(t, h, false);
  Serial.print(F("Humidity: "));
  Serial.print(h);
  Serial.print(F("%  Temperature: "));
  Serial.print(t);
  Serial.print(F("°C  Heat index: "));
  Serial.print(hic);
  Serial.println(F("°C"));
}
9. Advanced Code: DHT22 + LCD Display (I2C 16x2)#
Printing to the serial monitor is good for debugging, but standalone projects need a display. Here is how to show DHT22 data on an I2C 16x2 LCD using the LiquidCrystal_I2C library.
Connections: SDA to A4 (UNO), SCL to A5 (UNO). VCC to 5V, GND to GND.
#include <Wire.h>
#include <LiquidCrystal_I2C.h>
#include "DHT.h"
#define DHTPIN 2
#define DHTTYPE DHT22
DHT dht(DHTPIN, DHTTYPE);
// Set the LCD address to 0x27 for a 16 chars and 2 line display
LiquidCrystal_I2C lcd(0x27, 16, 2);
void setup() {
  dht.begin();
  lcd.init();
  lcd.backlight();

  lcd.setCursor(0, 0);
  lcd.print("ADIY Weather");
  lcd.setCursor(0, 1);
  lcd.print("Initializing...");
  delay(2000);
  lcd.clear();
}
void loop() {
  delay(2000);

  float h = dht.readHumidity();
  float t = dht.readTemperature();

  if (isnan(h) || isnan(t)) {
    lcd.setCursor(0, 0);
    lcd.print("Sensor Error  ");
    return;
  }

  lcd.setCursor(0, 0);
  lcd.print("Temp: ");
  lcd.print(t, 1); // 1 decimal place
  lcd.print(" C   ");

  lcd.setCursor(0, 1);
  lcd.print("Hum:  ");
  lcd.print(h, 1);
  lcd.print(" %   ");
}
10. Advanced Code: DHT22 + OLED SSD1306 Display#
For a sleeker look, OLED displays are fantastic. This example uses the Adafruit SSD1306 and GFX libraries.
#include <Wire.h>
#include <Adafruit_GFX.h>
#include <Adafruit_SSD1306.h>
#include "DHT.h"
#define SCREEN_WIDTH 128
#define SCREEN_HEIGHT 64
#define OLED_RESET    -1
Adafruit_SSD1306 display(SCREEN_WIDTH, SCREEN_HEIGHT, &Wire, OLED_RESET);
#define DHTPIN 2
#define DHTTYPE DHT22
DHT dht(DHTPIN, DHTTYPE);
void setup() {
  dht.begin();

  if(!display.begin(SSD1306_SWITCHCAPVCC, 0x3C)) {
    for(;;); // Don't proceed, loop forever
  }

  display.clearDisplay();
  display.setTextColor(WHITE);
}
void loop() {
  delay(2000);
  float h = dht.readHumidity();
  float t = dht.readTemperature();

  display.clearDisplay();

  if (isnan(h) || isnan(t)) {
    display.setCursor(0, 20);
    display.setTextSize(1);
    display.print("Sensor Read Error!");
    display.display();
    return;
  }

  display.setTextSize(1);
  display.setCursor(0, 0);
  display.print("ADIY Climate Monitor");

  display.setTextSize(2);
  display.setCursor(0, 20);
  display.print(t, 1);
  display.print(" C");

  display.setCursor(0, 45);
  display.print(h, 1);
  display.print(" %");

  display.display();
}11. Common Errors & Solutions#
Working with DHT sensors can sometimes be tricky. Here are the top 5 common errors and how to solve them:
12. Real Project: Indoor Air Quality Monitor with Threshold Alerts#
Let's build something practical. Using the DHT sensor and an LED (or buzzer), we can create a simple alert system for server rooms, greenhouses, or medicine storage cabinets in India.
In this project, an LED connected to Pin 8 will turn on if the temperature exceeds a threshold (e.g., 30°C) or if humidity exceeds 70%.
#include "DHT.h"
#define DHTPIN 2
#define DHTTYPE DHT11
DHT dht(DHTPIN, DHTTYPE);
#define ALERT_LED 8
const float MAX_TEMP = 30.0;
const float MAX_HUMIDITY = 70.0;
void setup() {
  Serial.begin(9600);
  dht.begin();
  pinMode(ALERT_LED, OUTPUT);
  digitalWrite(ALERT_LED, LOW);
}
void loop() {
  delay(2000);

  float h = dht.readHumidity();
  float t = dht.readTemperature();

  if (isnan(h) || isnan(t)) {
    Serial.println("Error reading sensor");
    return;
  }

  Serial.print("Temp: "); Serial.print(t);
  Serial.print(" | Hum: "); Serial.println(h);

  // Trigger alert if thresholds are exceeded
  if (t > MAX_TEMP || h > MAX_HUMIDITY) {
    digitalWrite(ALERT_LED, HIGH); // Turn on warning LED
    Serial.println("ALERT: Threshold exceeded!");
  } else {
    digitalWrite(ALERT_LED, LOW);
  }
}
This simple logic forms the basis of industrial HVAC control systems. You can easily replace the LED with a relay module to automatically turn on an exhaust fan or AC unit!
13. FAQ (Frequently Asked Questions)#
Can I use DHT11 or DHT22 outdoors?
The DHT22 can be used outdoors if placed inside a proper Stevenson screen or weather enclosure to protect it from direct rain and sunlight. The DHT11 is mostly recommended for indoor use only due to its limited temperature range and lower tolerance for harsh conditions.
How far away can the DHT sensor be from the Arduino?
With a strong pull-up resistor (e.g., 4.7kΩ) and good quality shielded wire, a DHT22 can operate reliably up to 20 meters away. For the DHT11, keep cable lengths under 10 meters to prevent data signal degradation.
Why does my DHT sensor library return 'NaN'?
NaN stands for "Not a Number". This happens when the microcontroller fails to receive data from the sensor. It is usually caused by a missing pull-up resistor, incorrect pin definitions in the code, wiring faults, or querying the sensor too fast (faster than 2 seconds).
Can I connect multiple DHT sensors to one Arduino?
Yes. Since they communicate via a single digital pin rather than a hardware bus like I2C, you can connect multiple sensors by simply defining multiple DHT objects on different digital pins in your code (e.g., DHTPIN1 = 2, DHTPIN2 = 3).
Products & resources
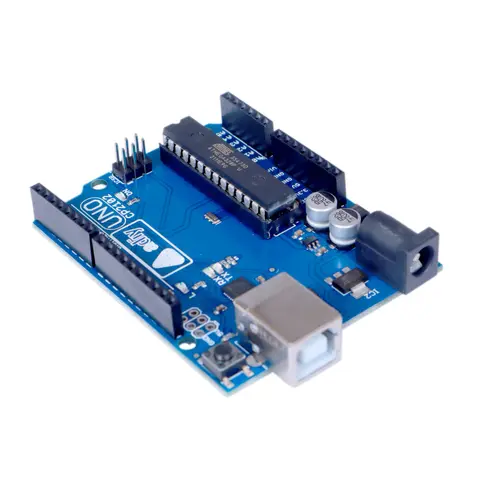
Arduino Compatible
Uno R3 – Compatible CP2102
The ADIY Uno R3 CP2102 ATmega328P Development Board is a cost-effective alternative to the popular Arduino Uno R3. It is designed for beginners and professionals alike, offering robust performance and reliability. Key…
₹552
Datasheet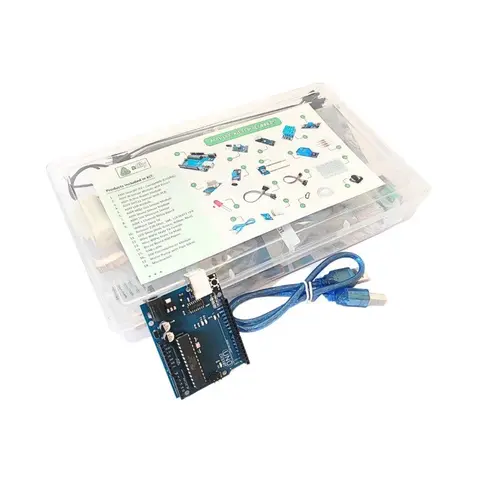
Arduino Compatible
UNO R3 Beginner kit – ADIY
ADIY Uno R3 Beginners Kit is a Stepping Stone for beginners who want to learn about electronic sensors and are excited to make projects. Beginners can learn the basics of UNO programming. Great for Starting with Arduino…
₹1,469
Datasheet
Share